 Save to Pinterest
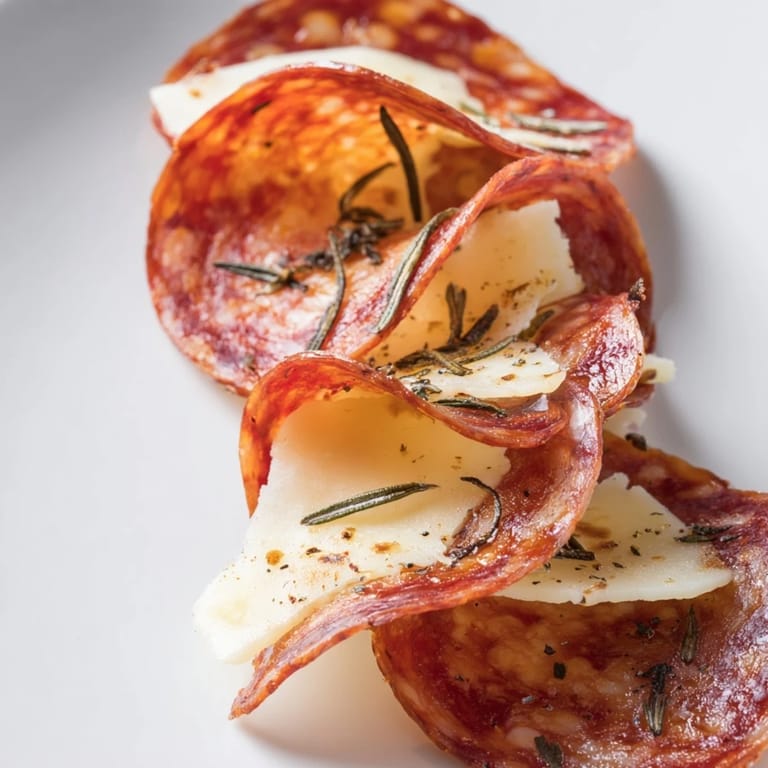
 I discovered these by accident one afternoon, trying to use up the last bits of a fancy charcuterie board before they got too soft. Instead of tossing them, I arranged them on a baking sheet and popped them in the oven out of pure curiosity. Twelve minutes later, the kitchen smelled incredible—salty, toasted, a little smoky—and I pulled out these crispy, golden shards that were somehow both elegant and ridiculously addictive. They've become my go-to when I need something that looks impressive but takes almost no effort.
I remember serving these at a dinner party last spring when everyone was tired of the same old cheese and crackers. One guest bit into a salami chip and just closed their eyes—you know that moment when someone's tasting something they didn't expect to love? That's when I realized these weren't just using up leftovers, they were creating something special out of ingredients we already had.
Ingredients
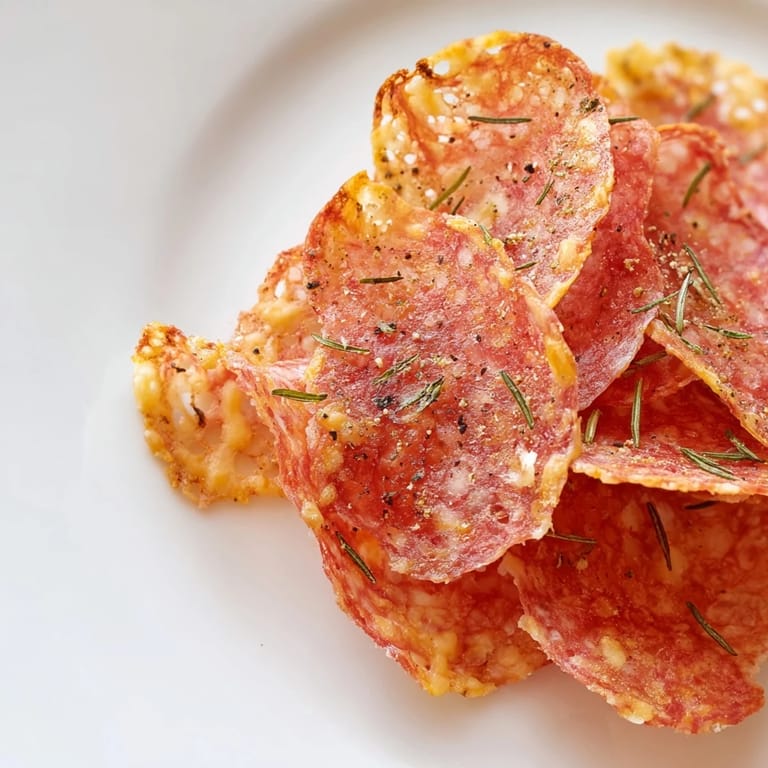
- Thinly sliced salami (100 g): The paprika in good quality salami adds color and depth; ask your deli counter to slice it paper-thin so it crisps up properly instead of staying chewy.
- Thinly sliced prosciutto (100 g): This one gets almost translucent and crackles like glass when baked right, lending a delicate texture that balances the meatier salami.
- Thinly sliced pepperoni (100 g): It cups slightly as it cooks and gets almost peppery-hot at the edges, which is exactly what you want for contrast.
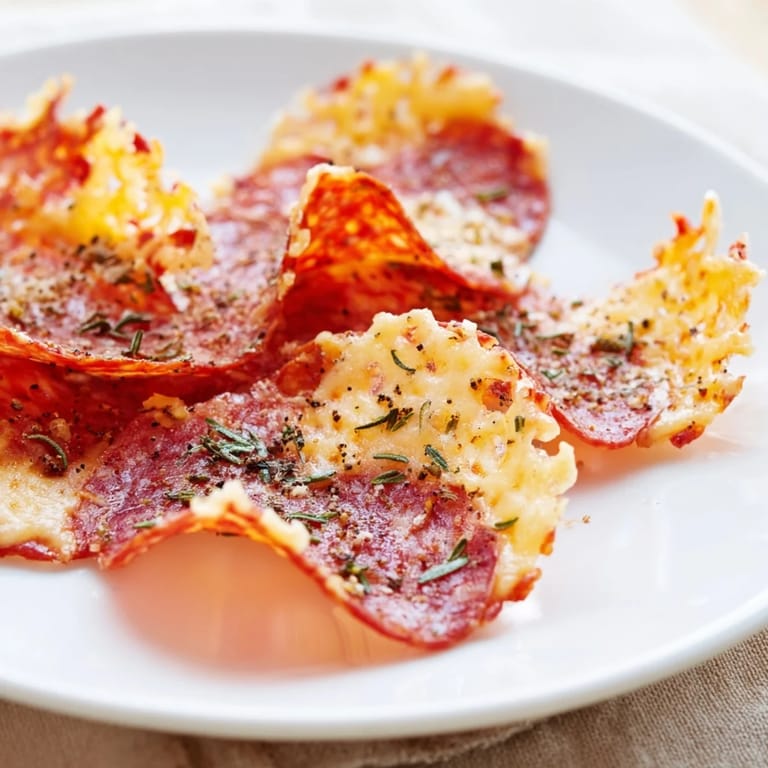
- Aged hard cheese—cheddar, Manchego, or Parmesan (100 g): These don't burn as easily as softer cheeses and get properly golden instead of spreading into puddles.
- Semi-hard cheese—Gouda or provolone (100 g): The sweetness here balances the salt of the cured meats beautifully; give yourself a little space between slices or they'll fuse together.
- Fresh herbs like thyme or rosemary, finely chopped: A small pinch scattered over cheese before baking adds an unexpected brightness that ties everything together.
- Cracked black pepper: Don't skip this—it blooms in the heat and reminds you these are savory snacks, not just cheese.
Tired of Takeout? 🥡
Get 10 meals you can make faster than delivery arrives. Seriously.
One email. No spam. Unsubscribe anytime.
Instructions
- Get your oven ready:
- Heat it to 375°F (190°C) and line two baking sheets with parchment paper—this prevents sticking and makes cleanup nearly invisible.
- Arrange the meats:
- Lay salami, prosciutto, and pepperoni slices on one sheet in a single layer without overlapping; they need space to crisp rather than steam.
- Arrange the cheeses:
- Spread cheese slices on the second sheet with a little air between them so they don't weld together as they melt.
- Season if you like:
- Sprinkle cheese with herbs or cracked pepper for flavor depth.
- Bake the meats first:
- The meat chips take 8 to 10 minutes—watch for the edges to turn crispy and slightly browned, then pull them out and let them cool completely on the sheet. They'll crisp up even more as they cool, so don't panic if they seem a bit soft right out of the oven.
- Bake the cheeses:
- These need 6 to 8 minutes; you're looking for golden color and gentle bubbling throughout. Let them cool for 5 minutes, then carefully peel them from the parchment with a metal spatula.
- Plate and serve:
- Arrange both types on a board or platter and serve while still crispy.
 Save to Pinterest
 There's something quietly satisfying about turning something you almost threw away into the star of the show. These chips became the thing people remembered from that dinner, not the main course—and I loved that humble beginning.
The Magic of Temperature
375°F is the sweet spot because it's hot enough to render the fat in the meats and melt the cheese, but not so hot that everything burns before it crisps. I learned this by going too high the first time and watching my beautiful ingredients turn bitter and black at the edges. Now I always give the oven five minutes to come to full temperature, and I never skip the parchment paper because it's the difference between a perfect chip and a stuck mess.
Timing is Everything
The couple of minutes difference between perfectly crispy and overcooked is genuinely small, so if your oven runs hot or cold, start checking around the six-minute mark. I keep my phone timer on my counter now because that eight-minute window for meats moves fast, and nothing ruins a batch like walking away feeling confident. The prosciutto, being the thinnest, will brown first, so if you see the edges getting dark, you're right at the finish line.
Building a Board Worth Serving
These chips shine alongside sharp pickles, briny olives, or a small dish of whole grain mustard. They're substantial enough to stand alone but elegant enough to feel intentional. I've found that people enjoy them at room temperature, so there's no pressure to serve them piping hot—they're actually better after they've cooled and crisped completely.
- Try smoked salami or smoked prosciutto for a deeper flavor that feels a little more luxurious.
- A tiny pinch of smoked paprika on the cheese before baking gives you that deli counter warmth without any extra ingredients.
- Store any leftovers in an airtight container at room temperature for up to two days, though honestly they never last that long.
 Save to Pinterest
 These chips have become the first thing I make when unexpected guests arrive because they feel fancy but honest. Once you've made them once, you'll keep coming back.
Recipe FAQs
- → What types of meats work best for charcuterie chips?
Thinly sliced cured meats such as salami, prosciutto, and pepperoni lend the ideal texture and flavor for crisp chips after baking.
- → How do you prevent cheese chips from sticking during baking?
Using parchment paper and spacing cheese slices apart helps prevent sticking and allows even crisping of chips.
- → Can herbs be added to enhance flavor?
Yes, sprinkling fresh herbs like thyme or rosemary and cracked black pepper on cheese slices before baking enhances aroma and taste.
- → What is the ideal baking temperature and time?
Bake cured meats at 375°F (190°C) for 8–10 minutes and cheeses for 6–8 minutes until edges crisp and golden.
- → How should charcuterie chips be stored?
Store cooled chips in an airtight container at room temperature for up to two days to maintain crispness.
- → Are these chips suitable for special diets?
They are low-carb and gluten-free, but contain dairy and pork products—check allergens if needed.