 Save to Pinterest
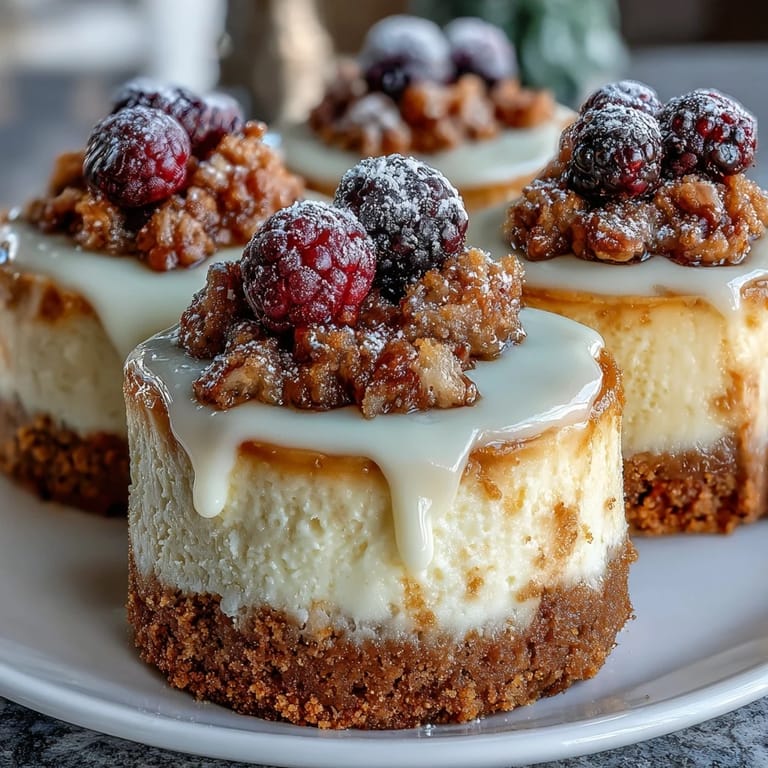
 My neighbor knocked on my door with a housewarming gift and a worried look—she'd volunteered to bring dessert to her sister's party that evening but had no time. We ended up in my kitchen for two hours, laughing as we lined tiny muffin cups and discovered that mini cheesecakes could somehow feel both elegant and effortless. That batch disappeared in minutes, and I've been making them ever since whenever I need something that looks like I spent all day in the kitchen.
I'll never forget setting out a platter of these at my book club last spring—someone asked for the recipe before tasting even one, and within an hour three other members had texted asking if I could make them for their own events. There's something about bite-sized desserts that makes people feel special, like you created something just for them.
Ingredients
- Graham cracker crumbs: Use fresh ones if you can—the slightly waxy texture creates a crust that actually stays crisp even after refrigerating.
- Unsalted butter, melted: The warmth helps everything bind together smoothly, so don't skip the melting step.
- Cream cheese, softened: Take it out an hour before you start; cold cream cheese will cause lumps that no amount of beating can fix.
- Granulated sugar: This dissolves faster into the filling than other sweeteners, giving you that silky texture.
- Eggs: Add them one at a time so they fully incorporate instead of creating tiny streaks throughout the batter.
- Sour cream: It adds tanginess and keeps the cheesecakes from drying out during baking.
- Vanilla extract: Real vanilla makes a noticeable difference here—it's worth the extra dollar or two.
- All-purpose flour: Just a tablespoon prevents the filling from cracking as it sets.
Tired of Takeout? 🥡
Get 10 meals you can make faster than delivery arrives. Seriously.
One email. No spam. Unsubscribe anytime.
Instructions
- Prepare your workspace:
- Preheat the oven to 325°F and line your mini muffin tin with paper liners—this step saves you from wrestling with stuck cheesecakes later. Having everything ready before you start mixing means you won't be rushed when the filling is ready to go into the oven.
- Make the crust:
- Combine graham cracker crumbs, sugar, and warm melted butter until it looks like wet sand. Press about a heaping teaspoon firmly into each liner so it creates an actual base rather than a loose layer that'll fall apart.
- Beat the cream cheese:
- Start alone, getting it completely smooth before adding anything else—this takes about two minutes and makes all the difference. Once it's creamy, add sugar and mix until you can't see any grains of sugar when you scrape the sides.
- Add the eggs carefully:
- Drop in one egg at a time, beating gently after each one instead of dumping them all at once. This prevents overmixing, which can create tiny air bubbles that escape during baking and leave you with sad sunken cheesecakes.
- Finish the filling:
- Stir in sour cream, vanilla, flour, and salt until just barely combined—overbeating at this point adds air you don't want. The batter should look smooth and creamy with no visible streaks.
- Fill the cups:
- Spoon the filling into each liner until nearly full, leaving about a quarter inch from the top. Work quickly since you don't want the filling sitting out while you're doing the others.
- Bake with patience:
- Bake for 18 to 20 minutes—the centers should still jiggle slightly when you gently shake the pan, almost like a water balloon. They'll continue cooking slightly as they cool, so resist the urge to bake them until they look completely firm.
- Cool gradually:
- Let them rest in the pan for 15 minutes before transferring to a wire rack, which prevents them from cracking as they cool. This gentle transition makes a real difference in the final texture.
- Chill thoroughly:
- Refrigerate for at least an hour, though overnight is even better if you have the time. Cold cheesecakes slice cleanly and taste even more luxurious.
- Top and serve:
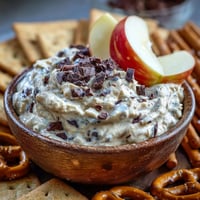
- Just before serving, add your chosen toppings—fresh berries, fruit preserves, whipped cream, or chocolate shavings. This keeps the crust crisp and the toppings from soaking into the filling.
 Save to Pinterest
 These little cheesecakes became the thing people asked me to bring to potlucks, and eventually I realized it wasn't really about the dessert—it was about having something beautiful and thoughtful to share. Now whenever I make them, I think about connection and the strange magic that happens when you feed people something made with care.
Storage and Make-Ahead Tips
You can prepare these up to a day in advance and store them in an airtight container in the refrigerator—they actually taste better on day two as the flavors meld. If you want to make them even further ahead, you can freeze them unfrosted for up to two weeks, then thaw in the fridge overnight before adding toppings.
Flavor Variations Worth Trying
Once you nail the basic recipe, these mini cheesecakes become a canvas for creativity. Add lemon zest to the filling for brightness, swirl in a bit of salted caramel, or mix in crushed cookies before baking—I've even made a matcha version that surprised everyone at a dinner party.
Troubleshooting and Final Thoughts
If your cheesecakes crack on top, don't worry—it means the oven temperature was probably too high or they baked too long, but they'll still taste wonderful. A little whipped cream or fruit preserves covers any imperfections and honestly makes them look more homemade and charming.
- Check your oven temperature with a separate thermometer since ovens can be deceptive, especially if they're older.
- Don't skip the graham cracker crust no matter how tempted you are—it's what makes these feel special and prevents them from tasting too one-note.
- Make extra batches if you're bringing these somewhere; they disappear faster than you'd expect and people will ask for seconds.
 Save to Pinterest
 These mini cheesecakes have somehow become my signature move, the thing I'm known for bringing to celebrations. Every time I make them, I'm reminded that small, thoughtful gestures often mean more than elaborate ones.
Recipe FAQs
- → What type of crust is used for the mini cheesecakes?
The crust is made from graham cracker crumbs mixed with granulated sugar and melted butter, pressed firmly into mini muffin liners.
- → How long should the cheesecakes be chilled?
After baking and cooling, chill the mini cheesecakes for at least one hour to allow the texture to fully set and flavors to meld.
- → Can I add toppings to the mini cheesecakes?
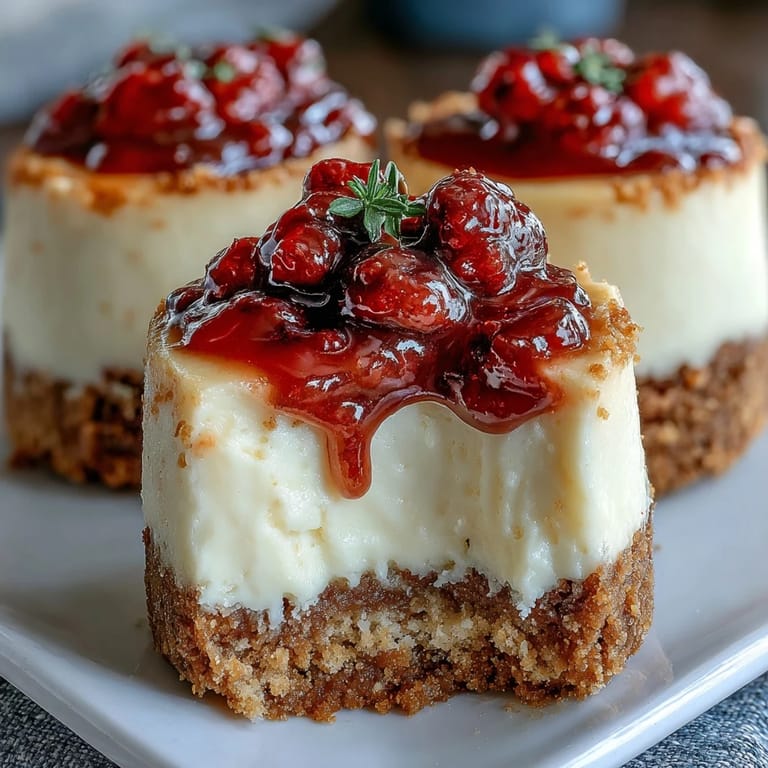
Yes, optional toppings include fresh berries, fruit preserves, whipped cream, or chocolate shavings to add extra flavor and visual appeal.
- → Is there a way to make these dairy-free?
This version uses cream cheese, sour cream, and butter, so for dairy-free options, suitable substitutes would be needed but are not included here.
- → What is the baking temperature and time for these mini cheesecakes?
Bake the cheesecakes at 325°F (160°C) for 18-20 minutes until centers are set but slightly jiggle for a creamy finish.
- → Can these be prepared in advance?
Yes, prepare a day ahead and store refrigerated to save time while ensuring freshness.