 Save to Pinterest
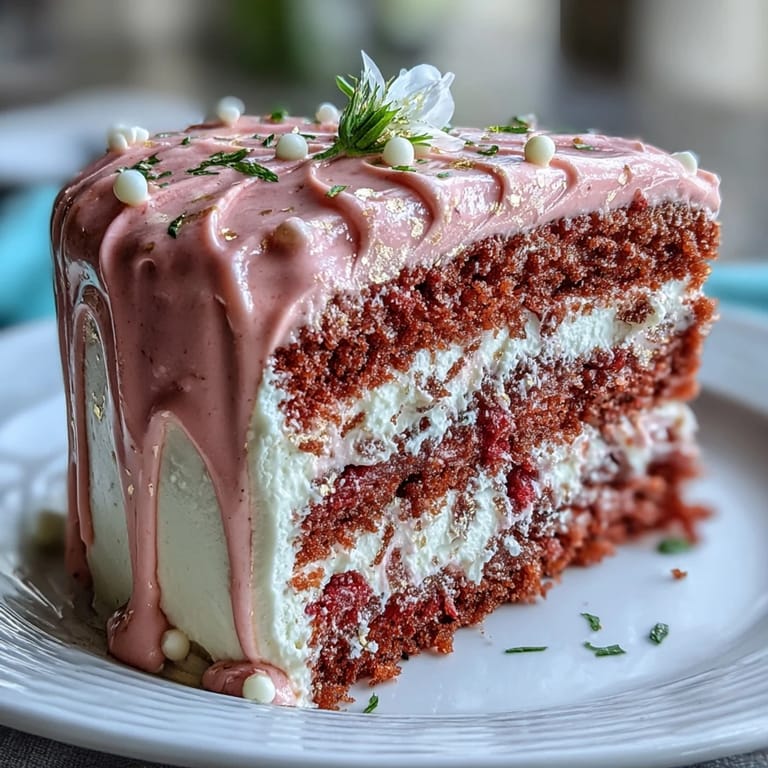
 You know that moment when the kitchen goes pin-drop silent, and all you can hear is the faint fizz of a newly poured glass of rosé? That was the soundtrack as I embarked on this blush-pink velvet cake for a friend’s bridal shower. There was a little thrill watching the batter swirl from beige to rose gold, hints of sweet wine perfuming the air. It’s one of those cakes that practically demands a reason to celebrate but is far too charming to save for only the grandest occasions. Every time I catch a glimmer of gold atop that creamy frosting, it feels like a party—even if it’s just a Tuesday.
I still remember everyone pausing mid-conversation the first time I brought this to the table. Some friends were more interested in getting behind the scenes than their own plate—so we found ourselves laughing over palettes of luster dust and crumbs, gold dusting our fingertips, and frosting streaking our aprons. The celebration ended up feeling less like a traditional bridal shower and more like a hands-on, sugar-dusted workshop.
Ingredients
- All-purpose flour: The sturdiest base for a cake that needs to hold its own layers—sifting keeps it tender, so don’t skip that step.
- Granulated sugar: Nothing like the even texture it brings to a plush crumb; cream it well to avoid gritty patches.
- Baking soda & powder: They help the cake lift, and after one sunken layer years ago I always double-check they’re in date.
- Salt: A tiny pinch to keep the sweetness in check—I once forgot and learned just how necessary this is.
- Unsweetened cocoa powder: It makes that blush shade more sophisticated, so pick a good-quality cocoa for best flavor.
- Unsalted butter: Let it come to room temperature—cold butter won’t give that dreamy fluffy start.
- Buttermilk: Adds a tang and keeps things lush; room temp always helps it blend smoothly.
- Rosé wine: The backbone of the flavor—pick something you like sipping, and don’t be afraid to taste as you go.
- Eggs: Bind everything together and add a touch of richness—again, room temp for an even rise.
- Vanilla extract: Warmth and a subtle background note; go real vanilla if you can.
- White vinegar: This little acid works with the soda for the silkiest crumb, and you won’t taste it in the end.
- Pink food coloring gel: A drop or two brings out the romance, but start slow—the shade deepens as it bakes.
- Cream cheese: Essential for the tangy, cloud-like frosting—making sure it’s soft will save your arms when mixing.
- Powdered sugar: Sifted so your frosting stays dreamy smooth, otherwise you’ll chase down lumps forever.
- Heavy cream: For the gold drip—just enough richness to make it drizzle perfectly.
- White chocolate chips: Melt them gently for a glossy drip—patience is key here.
- Edible gold luster dust: This is the dramatic finishing touch; the kind of sparkle that feels downright magical.
- Vodka or clear extract: To mix with luster dust for paint—don’t worry, the alcohol evaporates off quickly.
Tired of Takeout? 🥡
Get 10 meals you can make faster than delivery arrives. Seriously.
One email. No spam. Unsubscribe anytime.
Instructions
- Prep the pans:
- Tear parchment to size and tuck it in the greased pans, giving the cake insurance for easy release later.
- Mix dry ingredients:
- Sift flour, cocoa, baking soda, baking powder, and salt until feathery—your future self will thank you while layering.
- Cream the butter and sugar:
- With the mixer whirring, watch for the moment the mix turns pale and rises up the bowl sides—it should look whipped and cloudlike.
- Add eggs and flavor:
- Incorporate one egg at a time, scraping the bowl to catch any butter hiding below, then the vanilla for warmth.
- Incorporate wet and dry:
- Alternately add the buttermilk, rosé, and vinegar with the dry mix, blending until just combined—the scent at this stage is divine.
- Color the batter:
- Add pink gel little by little, stirring until you hit the sweet spot—a soft, bashful blush is the goal.
- Bake:
- Divide batter equally in the pans and bake until tops spring back and a skewer emerges clean—your kitchen will smell subtly floral.
- Cool the cakes:
- Let them rest for ten minutes, then turn onto wire racks and inhale—nothing beats that fresh-cake aroma.
- Whip the frosting:
- Cream butter and cream cheese until seamlessly smooth, then gently add sifted sugar—rosé and vanilla go in last, making it fluffy and just boozy enough.
- Layer and frost:
- If needed, trim domes off cakes—frost generously between layers and swipe a crumb coat on before chilling to lock in any strays.
- Final coat and chill:
- After 30 minutes in the fridge, give it a swoop of the final frosting—smooth edges or build soft swirls, as you like.
- Gold drip magic:
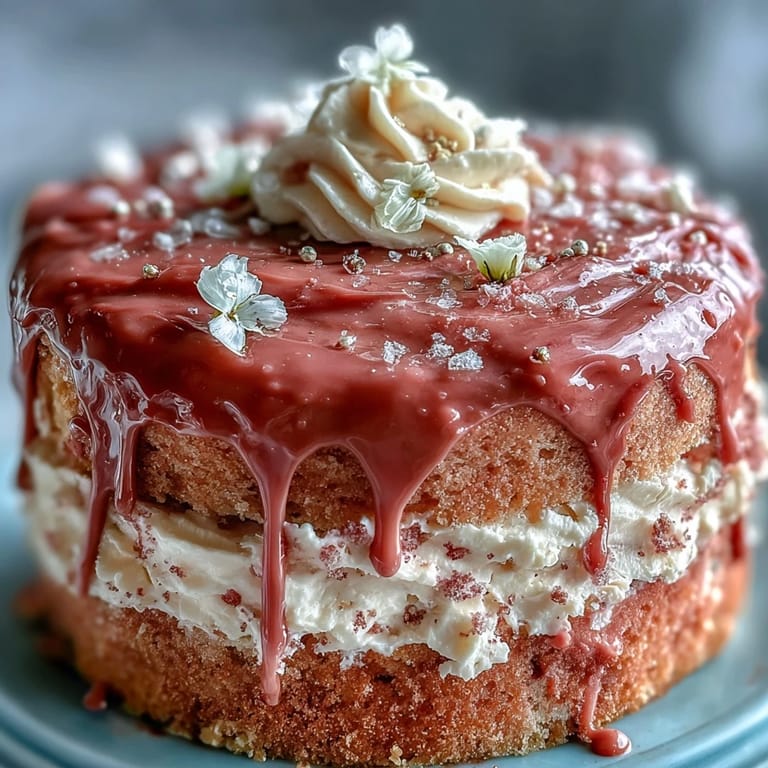
- Gently melt the chocolate and cream in bursts, cool, then drip along cake edges with a spoon or bottle—the anticipation will make you grin.
- Paint on the gold:
- Mix luster dust with vodka and brush it on carefully—the moment it turns brilliant gold is always satisfying.
- Chill and serve:
- Once decorated, tuck the cake in the fridge for half an hour; the drip will set and it’ll slice elegantly.
 Save to Pinterest
  Save to Pinterest
 There’s something magical about watching the room’s hush break into laughter after that first bite, crumbs scattered, gold flecks stuck to noses, and not a single care about the mess. Every time I bake this cake, it quietly transforms the ordinary into a reason to linger longer at the table.
Getting the Perfect Cake Texture
I learned quickly that room temperature ingredients are your secret ally: they blend more smoothly and promise a more even crumb. Beating the butter and sugar longer than you think necessary creates those delicate pockets for tenderness. If the cake layers feel stubborn coming out of the pans, a bit of parchment makes all the difference. And don’t panic if the cakes dome a little; a gentle trim with a serrated knife makes stacking a breeze.
Decorating Like a Pro
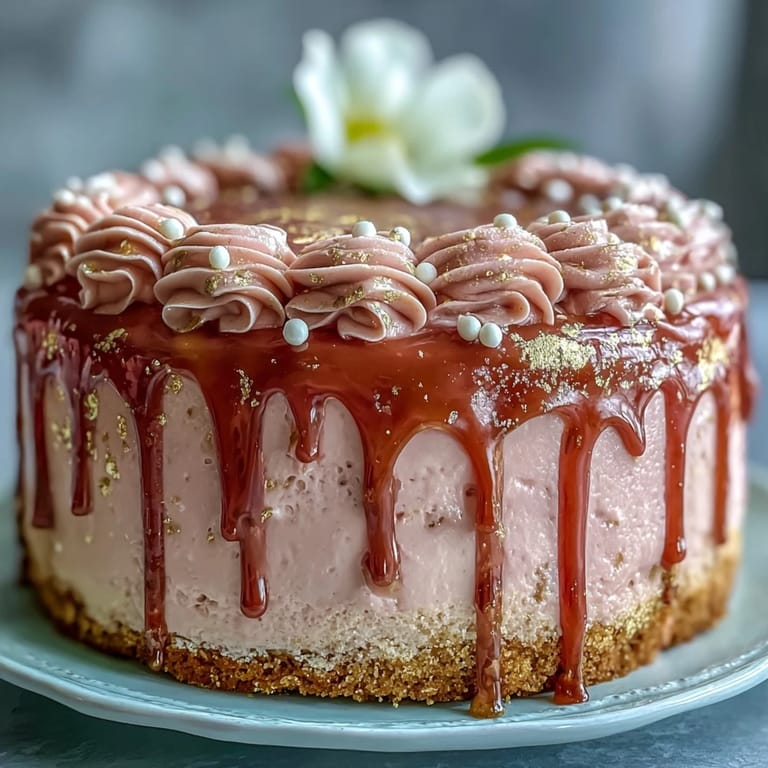
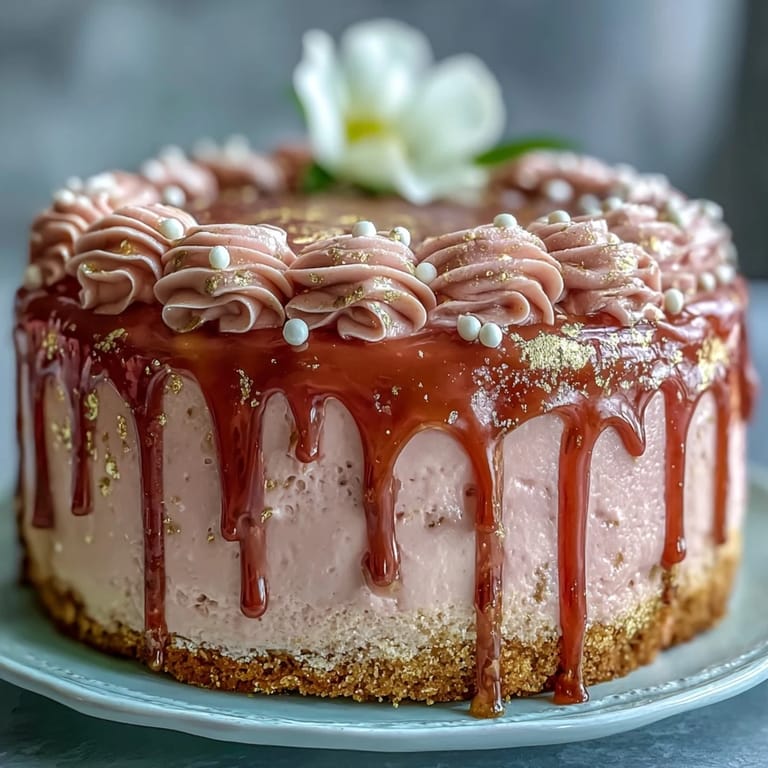
Applying the gold drip always felt intimidating until I tried using a little squeeze bottle instead of a spoon—it gives you a steadier hand and neater drips. Painting on the luster dust never fails to bring out the kid in everyone (I recommend setting aside a small brush just for your edible gold projects). Don’t sweat perfection—slight drips or uneven swirls give the cake personality and hint at the homemade love that went into it.
Serving and Celebrating
This cake sits beautifully on a stand, looking fancier than the effort it takes. I usually serve it with extra fresh berries or edible flowers for a seasonal touch, and the rosé flavor is a surprise that always draws compliments. It’s best served slightly chilled to help the layers hold, especially at summer parties.
- If you’re traveling, chill the cake well and assemble the drip on location.
- Clean your palette knife between swipes for a seamless frosting finish.
- Let the cake rest 10 minutes out of the fridge before slicing for clean layers.
 Save to Pinterest
  Save to Pinterest
 Whatever the occasion, this rosé velvet cake promises glimmers of celebration and a few new kitchen stories every time. Here’s to frosting-smeared smiles and golden crumbs on the countertop.
Recipe FAQs
- → How can I boost the rosé flavor without adding more liquid?
Reduce other liquid slightly and brush layers with a concentrated rosé soak; alternatively simmer a small amount of rosé with sugar to create a syrup and brush on cooled layers for pronounced wine notes without thinning the batter.
- → What's the best way to achieve a smooth crumb coat?
Use chilled layers and apply a thin layer of frosting, smoothing with an offset spatula. Chill until firm (about 20–30 minutes), then apply the final coat for a clean finish and sharp edges.
- → How do I make a stable white chocolate drip?
Gently melt white chocolate with warm cream in short bursts, stir until fully smooth, then cool slightly so it thickens before dripping. Test drip consistency on the bowl edge to ensure it holds shape on the cake edge.
- → Can I make a non-alcoholic version that keeps the rosé character?
Swap rosé for concentrated sparkling grape juice or reduce rosé with sugar into a syrup and replace with the same volume of grape juice reduction to maintain bright, fruity notes without alcohol.
- → How should I store and serve the finished cake?
Keep the cake refrigerated for up to 3 days, covered to avoid drying. Let slices sit at room temperature 20–30 minutes before serving to mellow the chill and bring out the rosé and cream cheese flavors.
- → Any tips for painting the edible gold onto the drip?
Mix gold luster dust with a small amount of clear alcohol or clear extract to a paintable consistency. Brush gently onto a fully set white chocolate drip in thin layers, allowing each pass to dry to avoid streaks.