 Save to Pinterest
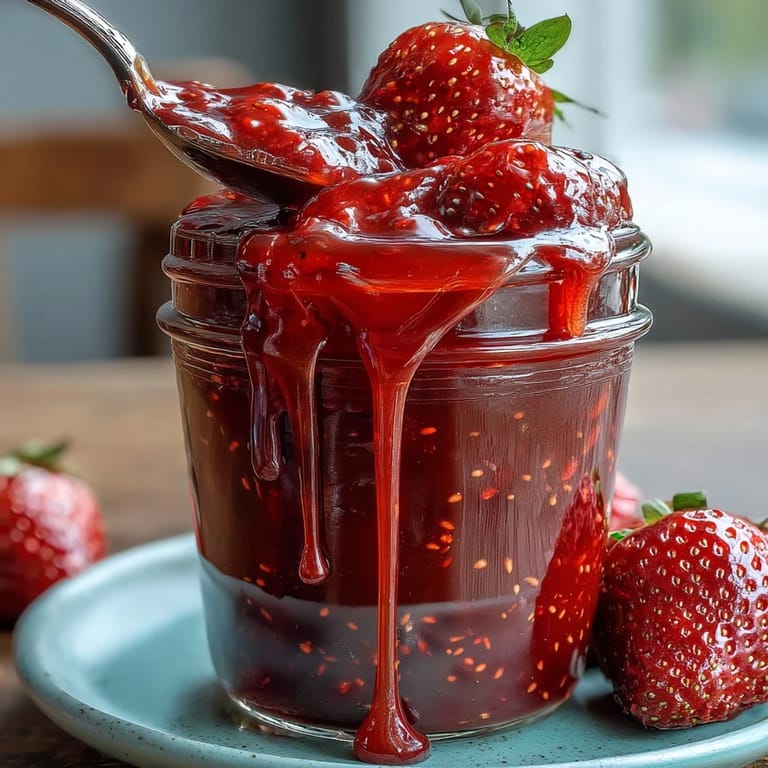
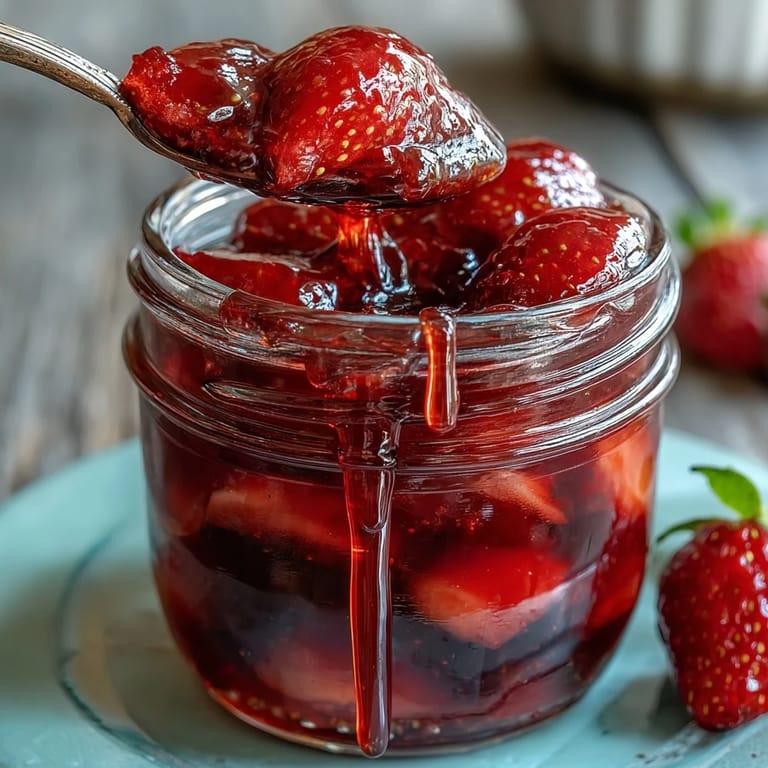
 The other morning, as sunlight streaked through my kitchen window, I found myself humming along to a soft playlist and reaching for a basket of scarlet strawberries. The scent of ripe fruit instantly filled the air, promising the kind of gentle indulgence that makes simple routines feel special. Sometimes, all it takes is the urge to bottle up a little spring magic, and cottagecore strawberry jam never lets me down. There’s something oddly meditative about halving each berry and watching sugar glisten on the surface as I work. Making this jam feels like coaxing summer into a jar, one fragrant spoonful at a time.
Last year, I made a double batch for a picnic by the pond and my friend unexpectedly brought fresh scones; we sat cross-legged, slathering the jam and laughing at how sticky we were by the end. That moment reminded me that preserves aren’t just for toast—they become invitations for connection, even in the most spontaneous ways. Now, whenever I open a new jar, I remember the taste of sunlight and wild laughter mingling with the scent of strawberries. Sometimes I even decorate the jars with bits of scrap fabric and a little twine, because gifting one almost feels like sharing a story. That day, the jam wasn’t the centerpiece, but every spoonful tasted like happy company.
Ingredients
- 500 g fresh strawberries, hulled and halved: Choose the ripest, brightest berries you can find—you want that true flavor, and if the berries are a bit imperfect, just trim away any soft spots.
- 250 g granulated sugar: I discovered early on that the balance of sweetness matters, so weigh your sugar for best results and don’t be tempted to rush this step.
- 2 tbsp freshly squeezed lemon juice: Besides adding brightness, the citrus helps set the jam—always juice your lemon fresh for that zingy lift.
- ½ vanilla bean (split and scraped) or 1 tsp pure vanilla extract (optional): Vanilla isn’t traditional, but just a hint adds a warm, aromatic whisper to the jam—use the bean for depth, or extract in a pinch.
Tired of Takeout? 🥡
Get 10 meals you can make faster than delivery arrives. Seriously.
One email. No spam. Unsubscribe anytime.
Instructions
- Mash the strawberries:
- Drop the berries into your saucepan and mash about half, just enough to create juicy pockets while leaving generous chunks for a rustic texture.
- Macere the fruit:
- Sugar and lemon juice join the party—stir well, then let it all sit and mingle for 10 minutes to draw out the natural juices.
- Add vanilla (if using):
- Scrape in vanilla bean seeds and toss the emptied pod right into the pan, or swirl in vanilla extract if that’s what you’ve got.
- Bring to a gentle boil:
- Set your pan over medium heat and stir while watching the sugar melt—frothy foam might bubble up, but just skim it off with a spoon and enjoy the fragrant steam.
- Simmer and thicken:
- Let the mixture bubble away, stirring often; watch as it darkens to ruby and thickens, then check for set by placing a drop on a chilled plate and nudging—it should gently wrinkle.
- Finish and jar:
- Remove the vanilla pod, let the jam settle for five minutes, then use a ladle and funnel to pour it into sterilized jars—seal immediately to trap in the freshness.
- Cool and store:
- Let the jars cool to room temperature, label them, and store in the fridge—enjoy within a month for best flavor.
 Save to Pinterest
 When I handed my neighbor a jar wrapped in calico, her eyes lit up brighter than I expected—it was just jam, but in that moment it felt like something much more—a thoughtful exchange, a tiny gesture of care. Somehow, homemade preserves always seem to say what words can’t.
Ways to Make It More Special
I learned that a quick sprig of fresh thyme or basil stirred in at the end can turn a classic jam into something unexpectedly memorable. Sometimes I play with swaps, like using brown sugar for an earthier twist, or adding a spoonful of honey for extra warmth. Even the jar itself matters—recycled glass with a mismatched lid makes each batch feel unique and personal. The point is, don’t be afraid to let the season or your mood nudge the flavor in a new direction. Every variation comes with its own surprise.
Jar Prep: Little Rituals, Big Results
I used to dread sterilizing jars, but now it feels almost like a pre-jam meditation—rinsing, drying, heating them gently in the oven. Handling those warm jars just before filling gives me the same satisfaction as putting a fresh sheet on the bed. If you want your jam to last longer, the water bath step is worth the effort (just a quick dunk, I promise). Plus, lining up those jars to cool in the fading afternoon light creates a kind of quiet pride that’s hard to describe. A little care at this stage truly pays off in freshness and shelf life.
Serving, Gifting, and Other Enjoyable Excuses
Every time I spoon this jam onto morning toast or swirl it into a bowl of yogurt, I’m grateful I took the time to make it. Layering it in tiny jars for teacher gifts or tucking it beside a wedge of soft cheese at a picnic brings joy far beyond the kitchen. Letting friends pick their own jar decoration is half the fun too.
- If your jam looks cloudy, don’t worry—taste still comes first.
- Write the date on the lid so you know when to use it by.
- A dash of balsamic transforms leftovers into a unique glaze for roast vegetables.
 Save to Pinterest
 Making strawberry jam always feels like keeping a little patch of spring handy for gray days and breakfasts to come. I hope each jar you make brings you as much bright, sweet joy as it does for me.
Recipe FAQs
- → How do I tell when the jam has set?
Cook until the mixture reaches about 105°C (220°F) or until a spoonful placed on a chilled plate wrinkles when pushed. The texture should be glossy and slightly thickened.
- → Can I use frozen strawberries?
Yes. Thaw and drain excess liquid, then weigh to match the 500 g called for. Adjust cooking time slightly as frozen berries release more juice.
- → How can I add herbal notes?
Add a sprig of thyme or basil during simmering and remove before jarring, or stir in finely chopped herbs at the end for a fresher finish.
- → What's the best way to sterilize jars?
Boil jars and lids in hot water for 10 minutes or run through a hot dishwasher cycle. Keep them hot until filling to reduce contamination and cracking.
- → Is vanilla necessary?
No—vanilla is optional. A split vanilla bean adds warmth and depth; vanilla extract can be used as a quick alternative at the end of cooking.
- → How can I extend shelf life?
For longer storage, process sealed jars in a boiling water bath for 10 minutes. Otherwise refrigerate and use within one month after opening.